How to Trade Kills in VALORANT: Spacing, Timing, and Practice
Learn how to trade kills in VALORANT with useful sightlines, clear angle assignments, better timing, and partner drills that reveal why support arrives too late.
In this guide 8 sections
Trading a kill in VALORANT means eliminating the opponent who just killed your teammate before that opponent can safely reset the fight. It starts before your teammate dies: you need a useful position, a ready weapon, and enough information to identify the threat.
Following someone around the map is not automatically playing with them. A wall, smoke, elevation change, or unrelated angle can separate two nearby players more effectively than physical distance. This guide focuses on making your position useful to the teammate taking first contact.
For the underlying agent roles and use of abilities alongside teammates, see Riot's VALORANT Beginner's Guide.
Check what you can see, not just how close you are
Before a teammate exposes themselves, ask: if they fight an enemy from here, can I also see that enemy? If the answer is no, identify what blocks you.
You may need to move around cover, finish clearing a nearer corner, or wait until your weapon is ready. Communicate the delay instead of letting the first player assume they have support.
A doorway, box, or change in elevation determines when a second player can enter the fight. Judge the route in front of you rather than memorizing one universal following distance.
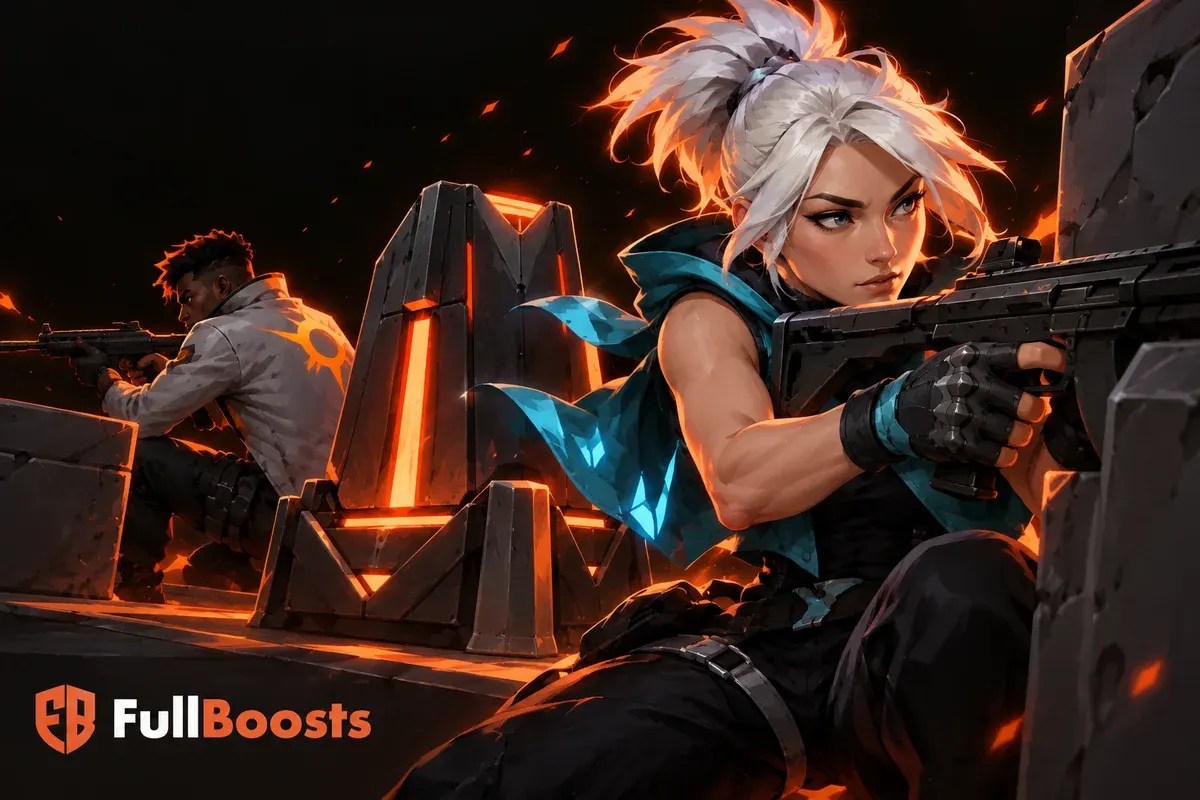
Example: your teammate rounds a corner while you remain behind a box. You are only a few steps apart, but you cannot see the opponent holding the exit. When the fight starts, your first action is moving into position, not shooting. The spacing failed before either player missed a shot.
Divide the angles before taking contact
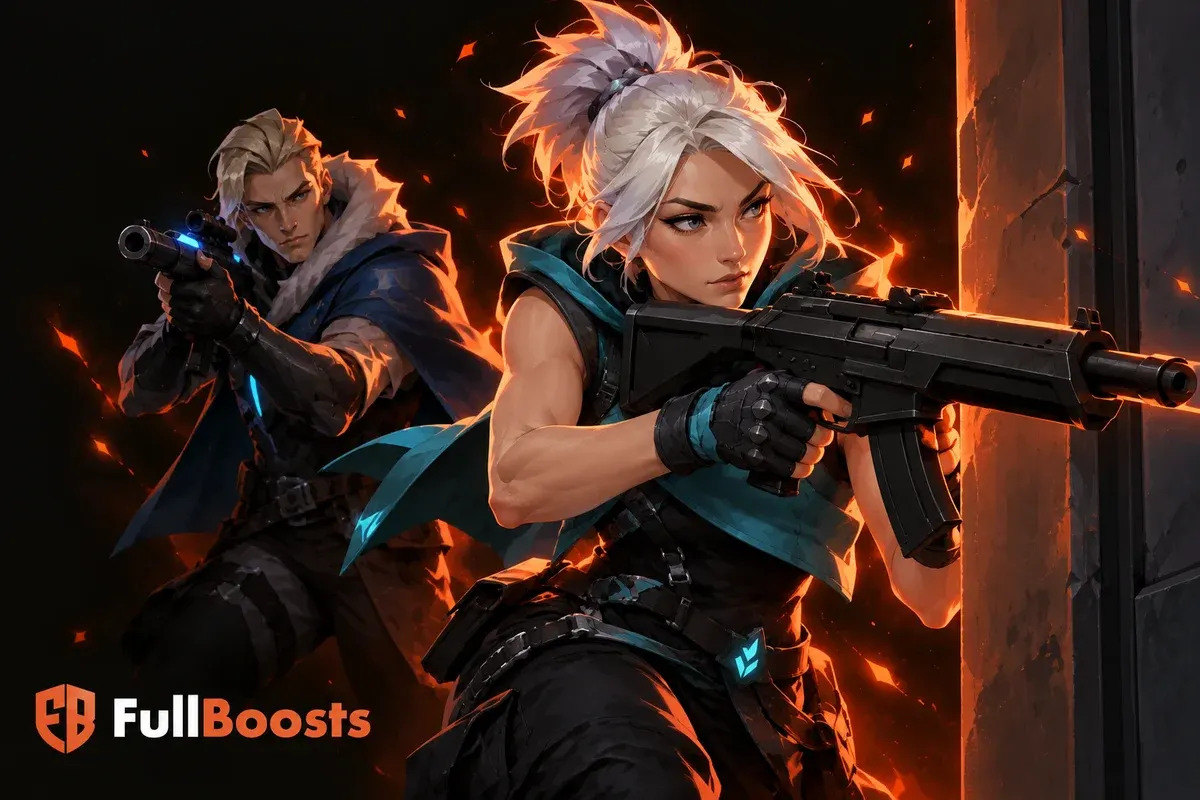
Two players entering an area should know which threats they are addressing. If both stare at the same empty corner while a second angle remains unchecked, being together has not solved the problem.
Use a short call that assigns a task: “I clear close left; watch the deeper angle.” After the first player moves, the second should update their view rather than continue covering a space the team has already passed.
This is also why the second player should avoid staring at the first player's back. Look toward the enemy positions their movement will expose. Your teammate's path gives context; the opponent's likely location deserves your crosshair.
Do not turn angle assignments into blind obedience. New information changes the plan. If utility blocks the deeper angle or an opponent appears elsewhere, call the change and adjust together.
Close enough to help, separated enough to fight
Common spacing failures are easier to fix when you identify what prevented support:
| Failure | What happens | Useful correction |
|---|---|---|
| Too disconnected | The first fight ends before the second player gets a sightline | Move into supporting position before contact |
| Too tightly stacked | Players block useful movement or present nearly the same target line | Leave room for separate movement and a usable second angle |
| Different intentions | One player commits while the other stops to use utility | State who moves first and when the second is ready |
| Unclear target | The second player sees action but cannot identify the threat | Name the opponent's position, not just the teammate's death |
The right spacing depends on cover and the action you are taking. A narrow doorway and a wide clearing cannot be treated identically. Stop looking for a fixed number of meters and test whether both players can participate in the intended fight.
Match your timing to the first player's commitment
When supporting an entry, keep track of whether the first player is checking, retreating, or committing. A quick information peek does not always mean “follow me through.” A player crossing into the site usually needs a different response.
Useful calls are short and specific: “Wait for my flash,” “Swing with me,” or “I am backing out.” Confirming readiness is more valuable than announcing a plan after someone has already moved.
If you are using utility, finish the action before promising an immediate trade. Your ability may help the entry, but it also changes when your weapon can contribute. Plan that gap instead of discovering it during the fight.
Trade the threat, then reassess the round
Suppose the first player dies and you can immediately fight the exposed opponent. Take the available engagement with the information you have. If the opponent has already escaped behind cover, the original opportunity may be gone.
Chasing through an uncleared area is a new decision. You might need to clear another angle, wait for help, or use the space your teammate created. Do not call every revenge attempt a trade.
After a successful exchange, check the objective and the remaining threats. You may have room to plant, protect a teammate, or stop advancing. Continuing to chase because the first fight went well can throw away the advantage you just created.
Two practice exercises for better spacing
Exercise one: compare your views
In a custom game with a partner, choose a corner and a likely defensive position. Take turns leading and supporting. Stop at the moment the leader could first see the defender's position.
Ask the supporting player what they can see without moving. If the target area is hidden, adjust the approach. Repeat with a different nearby piece of cover.
The purpose is to find where support becomes possible. Do not add a timer or score until both players understand the geometry. Several deliberate repetitions are more useful than rushing an exercise without noticing why it fails.
Exercise two: add a live defender
With a third willing player, place one defender at an agreed position and let two attackers practice approaching together. Rotate roles so everyone experiences how the spacing looks from the other side.
Start with the defender's location known. Then allow them to choose between two positions the attackers have agreed to practice. Discuss whether the second attacker was ready, whether angle coverage made sense, and whether the defender could isolate two separate fights.
Review a failed trade without blaming aim first
Pause a recording just before contact. Check the supporting player's sightline, weapon readiness, and assigned angle. Then watch what information was available when the first player died.
Separate a missed shot from a missing opportunity. If you had a clear target and lost the duel, the positioning may have worked. If you spent the entire exchange walking around a wall, changing sensitivity does not address the failure.
Choose one correction for the next game, such as calling a utility delay or reaching the support angle before the entry moves. Explore the FullBoosts VALORANT page for related options.
Frequently asked questions
Does the second player always have to follow the entry?
No. Someone may need to cover a flank, use utility, or protect the objective. The important part is making that role clear so the entry knows whether an immediate trade is available.
Should I swing immediately whenever a teammate dies?
Swing when you have a useful sightline and information about the threat. If you must cross several unchecked angles to reach the opponent, reassess the position instead of treating a delayed chase as an automatic trade.
Can we practice trading with only two players?
Yes. Use the sightline exercise to compare what each person can see around cover. A third player adds a live threat, but the basic positioning problem can be studied without one.
What should I call when I cannot support my teammate?
State the reason and the action: “Weapon not ready, wait,” or “I cannot see that angle; fall back.” This gives the teammate a decision they can use before committing.
More from Valorant
Explore services and find the right option for your next goal.