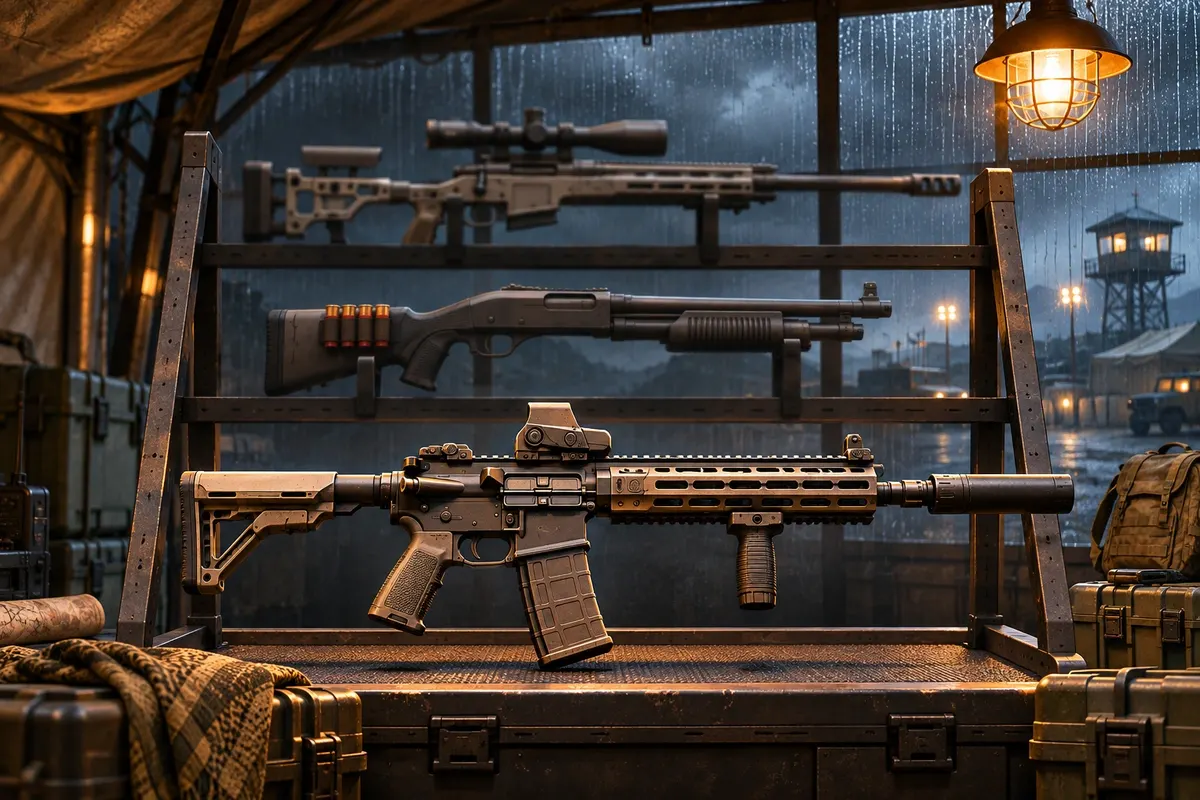
Best Modern Warfare 4 DMZ Loadouts: Budget, General, High Threat
Best Modern Warfare 4 DMZ loadouts for Season 1: budget, general and high-threat kits, plate carriers, backpacks, gear, healing and Gunsmith priorities.
In this guide 10 sections
The best Modern Warfare 4 DMZ loadouts start from the job you have planned for the deployment, not from the most expensive item in your Stash. A run spent finishing a simple Order, looting Clinics and learning a district can be done on very little. A push into the Chang-san Air Base bunker cannot. This guide splits DMZ kits into three tiers (budget, general and high threat), fills every Loadout slot for each one, and ends with the Gunsmith upgrades we would buy first for each weapon class. Slot rules come from Activision's Forward Operating Base guide (October 9, 2026), zone threat ratings from its Hajin deep dive (October 5), and balance changes from Infinity Ward's patch notes up to the Season 1 update of November 7.
This covers DMZ only. If you're new to the mode, start with our DMZ beginner's guide. Multiplayer classes with perks are in our best MW4 loadouts guide, and Warzone isn't covered here.
Quick summary
- Match the kit to the deployment. Budget kits suit Orders and scouting, a general kit covers most Dynamic Ops and Story Missions, and High, Critical and Extreme threat areas call for your best gear.
- The Han 86 is the easiest primary to recommend right now. Every DMZ tier list we checked puts it at the top, and our Season 1 DMZ list ranks it S alongside the Cronen Osprey and FiNN LMG.
- Plates are filled for you. Your vest is topped up with plates when you infil. Only Traits and the Armor Box field upgrade let you bring more (Activision).
- In the Gunsmith, buy the magazine and the muzzle first. Each extra attachment slot costs more DMZ Cash than the last, so spend on the parts that fix the gun's worst problem.
MW4 DMZ loadouts explained
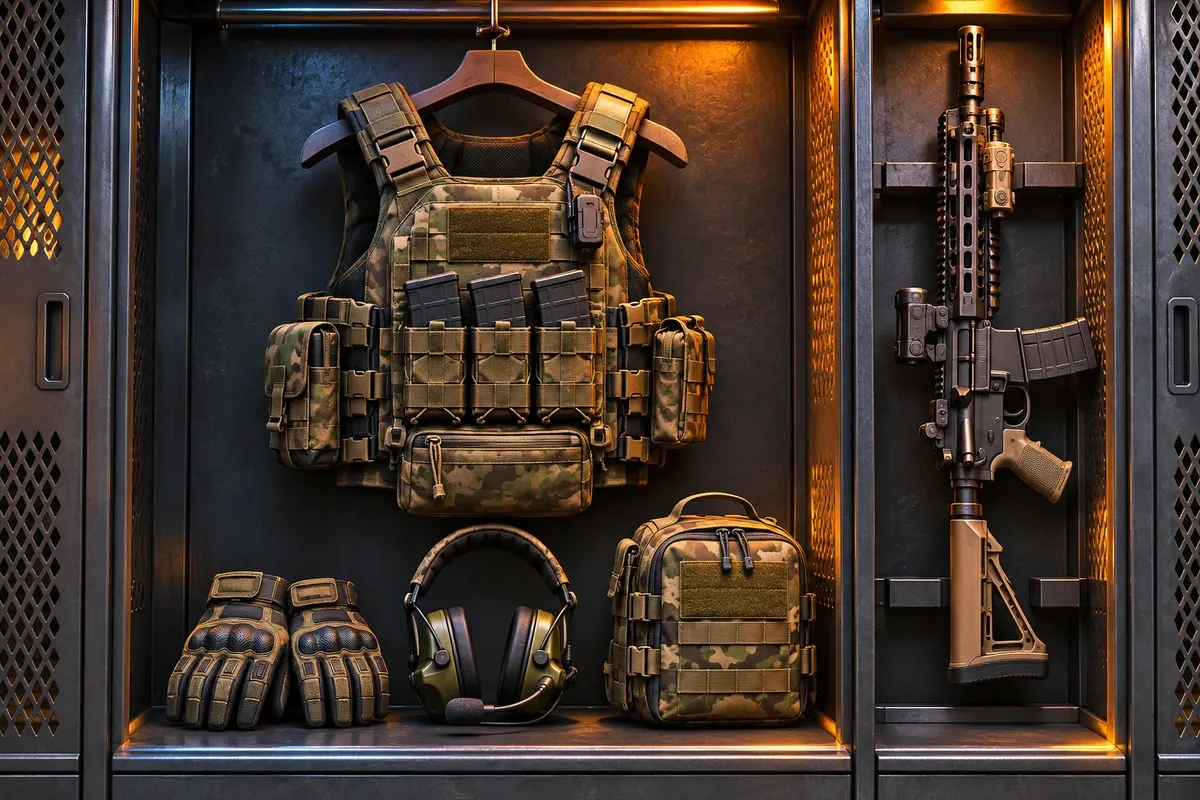
A DMZ Loadout is not a Create-a-Class. Activision's FOB guide describes two areas. The Loadout is what your Operator wears and uses in the field: two weapon slots, a melee weapon, a Plate Carrier, Headgear such as a Gas Mask or NVGs, a Self-Revive slot, a Tactical, a Lethal, a Field Upgrade, a Fire Support (Killstreak) slot, a parachute and the Backpack itself. The Backpack holds spare consumables and loot. Anything in it that isn't in a Secure Slot is gone if you fail to exfil. Without a real backpack you get the Basic Pack, which has eight slots.
Everything you equip comes from your Stash, which starts at 40 items and 12 weapons, shared by all your Operators. If your Stash is thin, the deploy screen also offers a Free Loadout. Activision lists it as a weapon source and Infinity Ward's October 29 notes fixed a bug that blocked it when the Stash was full. Neither source lists what it contains, so check it in game before you rely on it.
Two more systems change how you should build. The first is armor. Your armor slot is always empty in the menu and fills with plates when you infil. Spare plates come from loot, Ammo and Armor Caches, Traits that raise plate capacity, or the Armor Box. The second is the Operator. You start with two Active Duty slots (three with the Vault Edition), and raising your DMZ level opens one more. Each Operator spends up to 18 Trait Points across the Warfighter, Scout and Survivalist trees, and an Operator who dies goes MIA until you pay DMZ Cash to recover them. The more Traits they have, the higher that cost. Activision suggests building different Operators for different playstyles, and that fits the three kits below: a cheap looter for budget runs and a combat build for the dangerous zones. Our DMZ traits guide covers which Traits suit each one.
| Kit | Use it for | Gear level |
|---|---|---|
| Budget | DMZ Orders, Free Roam scouting, low-threat loot runs | One gun, a 1-Plate or 2-Plate vest, a small backpack, basic healing |
| General | Dynamic Ops, Story Missions, Medium and some High threat buildings | Rare to Epic gear: two weapons, a 2-Plate vest, a Medium Backpack, a field upgrade |
| High threat | The Citadel, the Air Base, The Grid, the Reactor, Lieutenant hunts | Your best vest, secure storage, Headgear for the zone, extra healing, a Self-Revive Kit |
This table is a decision aid, not a rule. Squad play, Traits and what you find in the first five minutes all shift which kit you need.
Solo or squad? All three kits work either way, but healing is where they split. In a squad, a teammate can pick you up, so one Medkit plus Bandages is usually enough. Alone, nobody else can revive you. Activision's recipe text says the Medkit is the item that lets you tourniquet yourself back up from Last Stand, so we carry two when solo. Our rule of thumb for an Operator with both Possum and a Self-Revive Kit is three, since each extra way back up tends to leave you with wounds to fix. Keep in mind that Medkits aren't cheap either. CODMunity lists them as Epic, and Activision's recipe needs a Rare Binding Catalyst.
Best weapons for MW4 DMZ right now
DMZ has its own weapon balance. Infinity Ward's October 23 launch notes remind players that the two modes get separate weapon tuning, so a 6v6 tier list is the wrong guide here. Our MW4 DMZ weapons tier list ranks every gun from two DMZ lists refreshed for Season 1 (CODMunity and wzstats.gg, both updated November 10). The short version for building a loadout:
| Role | Picks for a loadout | Tier on our DMZ list |
|---|---|---|
| Main rifle | Han 86, Cronen Osprey | S |
| Other rifles | Cronen Squall, Kastov 762, M4, Hyeon Burst | A |
| Close-range backup | VEL 46, PPSh-41, X-58 Nyx, Rezi 12 | A |
| Heavy support | FiNN LMG | S |
| Long-range or specialist | Signal 50, KG-7 Vulcan, Warlord | B |
| Marksman backup | Oris 8.6 | C |
| Skip as a main rifle | Oden | B |
| Avoid as a main gun | All four pistols, the .50 GS included | D |
The Han 86 is also the one gun that every DMZ list we checked, including the launch-week ones, puts in its top tier. Snipers and marksman rifles sit lower because most Hajin fights happen in buildings or against groups of AI, but they still have jobs. The Signal 50's Apex, Signal Inferno, loads incendiary rounds that hit vehicles and Killstreaks much harder, as our Apex attachments guide explains.
Three guns people ask about need a straight answer:
- .50 GS: we wouldn't carry it as your main weapon. It sits in D on our DMZ list, and GAMES.GG's DMZ tier list (October 25) puts every pistol in D for this mode. If one drops, it's a sidearm at best.
- Warlord and Oris 8.6: both make sensible second weapons. The Warlord is B on our list, but GAMES.GG ranks it in its top tier and calls it the best answer to an ambush at close range. The Oris 8.6 is C on our list and on GAMES.GG, so it's a pickup to use when you find one rather than a gun to buy.
- Oden: we'd leave it in the Stash. It's B on our list and C on GAMES.GG, and the Han 86, Cronen Osprey and Cronen Squall all do the rifle job better. Its Apex turns it into a semi-auto sniper, which overlaps with the real sniper class.
One catch before you plan around a gun: the Gunsmith only opens at DMZ Player Level 10, and to buy a base weapon there, you first have to extract with its Weapon Manual (Activision). Our DMZ manuals guide covers where they turn up. A base M4 costs roughly 5,000 DMZ Cash before you pay for any attachment slots. Until you own a manual, your best gun is the one you looted and brought home.
Best budget MW4 DMZ loadout
The budget kit is for runs where losing everything should not hurt. We use it for an Order that only asks you to visit a place or open containers, for scouting a district before a bigger run, and for clearing a crowded Stash by putting cheaper gear to work.
| Slot | Our pick | Why |
|---|---|---|
| Primary | Han 86 or any rifle you looted | The Han 86 is S tier for DMZ, and a rifle with two or three bought slots costs far less than a full build |
| Secondary | Leave it empty | AI soldiers drop weapons, so pick one up in the field; a Warlord or an Oris 8.6 is a good find |
| Plate Carrier | 1-Plate Armor Vest | Cheap to print (25 Synthetics and 25 Metals at launch, per Activision), and Police Stations hold military gear to upgrade from |
| Backpack | Small Backpack | More room than the eight-slot Basic Pack, but no Secure Slot, so carry nothing you can't lose |
| Tactical | Smoke Grenade | Breaks line of sight so you can leave a fight you didn't choose |
| Lethal | Frag Grenade or Drill Charge | CODMunity lists the Frag as Common and the Drill Charge as Uncommon, and grenades turn up as loot often |
| Healing | Two Bandages | A Bandage temporarily restores max health when you're wounded |
| Self-Revive | None | Not worth the risk on a cheap run |
| Fire Support | None | Save it for runs where players are the main threat |
If you take only three things, take a weapon, a vest and some healing. Activision's own tip for loot routes is that Clinics hold medical items and Police Stations hold military gear and a locked Armory, so a budget run can plan its first two stops around what the kit is missing.
Example: you need an Order done at Deadtown, which Activision rates Low outside and Medium in the Re-Education Center. A looted rifle, a 1-Plate vest and a pair of Bandages will do. Should you find a 2-Plate vest at a Police Station on the way, swap it in and the run has already paid for itself.
Modern Warfare 4 DMZ best loadout for general runs
This is the kit for most deployments. It uses Rare to Epic gear: good enough for a full Dynamic Op chain or a Story Mission, and cheap enough that losing it doesn't set you back a week. Avoid bosses with it. Rare gear also matters for another reason. Activision's first Operator Prestige asks for two Rare weapons with three attachment slots each, plus a Rare Plate Carrier and Backpack, so this kit doubles as Prestige practice.
| Slot | Our pick | Why |
|---|---|---|
| Primary | Han 86, Cronen Osprey or Cronen Squall | Rifles cover both long streets and room clearing; CODMunity puts all three in its top DMZ tier |
| Secondary | VEL 46, Warlord, Rezi 12 or Oris 8.6 | Pick by the range you tend to fight at; an SMG or shotgun handles close rooms, while the Oris picks off targets at range |
| Plate Carrier | 2-Plate Armor Vest, or a 2-Plate Ballistic Gel or Helmet Armor Vest | The basic one is Rare; the other two are Epic variants, and one plate rarely lasts a fight with an armored AI group |
| Backpack | Medium Backpack | Activision's recipe text says it adds Secure Slots, so a key or Weapon Manual survives a failed exfil |
| Tactical | Flash, Smoke, Snapshot or Stim | Flash for clearing rooms, Smoke for breaking off a fight, Snapshot for a quick look at who is near an exfil before you call it in |
| Lethal | Your choice | Frag, C4, Molotov and Thermite all appear in CODMunity's DMZ item list |
| Field Upgrade | Portable Radar or DDoS | Radar for spotting nearby players; DDoS for disabling enemy electronics |
| Healing | One Medkit and Bandages | A Medkit repairs wounds, restores full health and lets you use the tourniquet to stand up from Last Stand |
| Self-Revive | Optional | Useful, but CODMunity lists it as Legendary (the Medkit is Epic), so save it for runs that need it |
| Fire Support | UAV | Shows nearby players; skip it for quiet loot routes |
DDoS earns its place against Hajin's machines. Infinity Ward's Season 1 notes fixed bugs where DDoS failed to destroy placed Screamer Mines and where K9 robot dogs disabled by DDoS didn't count toward an Order, and its November 7 notes mention Wheelson Commander turrets being disabled by DDoS and Shock Stick effects. UAVs have a counter, though. Thermal Padding (a Scout Trait) and the Sedative Inhaler hide you from standard UAVs and UAV Towers, while the Advanced UAV still finds you (Infinity Ward's November 6 notes).
Three more notes on this kit:
- Vest variants. Activision's FOB guide says some Plate Carriers hold more plates, are tougher and protect you from one-shots, or carry enhanced plates for tempered protection. CODMunity's list names the variants: Ballistic Gel and Helmet Armor versions of the 2-Plate and 3-Plate vests, plus an Ultra Tempered Armor Vest. Neither source spells out which variant does what, so read the item card before you pick one over a plain vest.
- Snapshot Grenade. Dexerto's MW4 wiki describes it as a brief glimpse of enemies in the nearby area for your team. Throw one at the landing zone before you call the exfil, and you'll know if a squad is camping it.
- Riot Shield. Dexerto's MW4 wiki lists it as a placeable Field Upgrade that enemies can destroy. It isn't in CODMunity's DMZ item list, though, so check your Field Upgrade options in game before you plan on using it as cover.
Adjust the kit to the route. Minor stops such as Clinics, Fire Stations and Gas Stations don't need a UAV. If you only want a backup gun and not a planned secondary, take one from the first soldier you drop. Whatever else you trim, keep one properly built weapon. A gun whose Gunsmith upgrades fix its weakest stat does more for your survival than any single gadget.
Best loadout for Extreme Threat zones in Modern Warfare 4 DMZ
Activision rates every point of interest from Low to Extreme. The ratings that call for this kit:
- High: the 14th Political Prison and its yard, the Heavenly Luck Casino, NuriGO West and the Haneul Nuclear Reactor (which also carries radiation).
- Critical: The Citadel inside the prison, the Chang-san Air Base exterior, and The Grid with DBN Headquarters, Hanex Bank, the Minsok Art School and the Construction Zone.
- Extreme: the Air Base Bunker and the Nenshin Tech Complex in The Grid.
Season 1 also added X01, an underground GRANIT Arms site reached from inside Hajin, with its own threats and Orders (Season 1 patch notes). Treat it as high threat until you've scouted it. Our Hajin map guide covers every area and its rating.
These zones get harder the longer you stay. The Threat Level for an area rises as you fight, which brings stronger reinforcements. If your Hostiles Kill Count meter fills, a Hunt Squad is sent after you and you're Marked for Death (Activision). Lieutenants guard these areas too. Commanders are a different problem: Activision's Hajin deep dive describes them as roaming bosses that can show up in many places around the map, so you can meet one anywhere, not only in the zones above. The launch roster is the Colossus with its minigun, the Deathstalker drone and the battle tank, and Infinity Ward's Season 1 notes add a Wheelson Commander in X01.
| Slot | Our pick | Why |
|---|---|---|
| Primary | Han 86, Cronen Squall, M4 or Kastov 762, suppressed, with the largest magazine you've unlocked | Activision recommends suppressed shots, melee and throwing knives for moving through high-threat areas unnoticed; a big magazine means fewer reloads against armored AI |
| Secondary | PPSh-41, FiNN LMG or Signal 50 | PPSh-41 for rooms (71 rounds at 1,110 RPM on Activision's weapon card); FiNN for helicopters and AI crowds; Signal Inferno for vehicles |
| Plate Carrier | 3-Plate Armor Vest or better | Infinity Ward's November 5 notes set the Military Base mission to recommend the 3-Plate vest, which is also the DMZ Level 37 reward |
| Backpack | The best secure or weapon backpack you own | A Weapon Backpack adds a weapon slot; the secure models are built around Secure Slots for your best loot |
| Headgear | Gas Mask plus Radiation Gear or a Hazmat Suit for the Reactor; NVGs underground | Activision says Reactor entrants need protective apparel and a gas mask, and advises NVGs in the casino and the NuriGO underground mall |
| Tactical | Smoke Grenade | Covers a retreat or a revive against both AI and players |
| Lethal | C4 or Drill Charge | Lets you hit a dug-in group or a boss from cover |
| Field Upgrade | Armor Box or Fulton Drop Marker | The Armor Box is the only kit item that adds plates; a Fulton lets you leave without a contested exfil |
| Healing | Two Medkits, three solo with Possum and a Self-Revive | Wounds pile up fast here; in a squad, one Medkit can be enough |
| Self-Revive | Yes | A Self-Revive Kit has its own slot, so it costs you no backpack space |
| Fire Support | Advanced UAV or Crossfire | The AUAV sees players hidden by Thermal Padding; Crossfire got more damage against vehicles and tanks in Season 1 |
Magazines and ammo. CODMunity lists a 60 Round Drum for four guns: the Han 86 (weapon level 10), the VEL 46 (level 33), and the M4 and Cronen Squall (both level 39). It trades a little movement speed for capacity, which is a fair deal when a group of armored soldiers rushes you. Armor Piercing ammunition attachments also exist for some weapons; warzoneloadout.games lists 5.56 NATO Armor Piercing for the M4 at weapon level 27. Neither Activision nor Infinity Ward has said how much they help against armored AI in DMZ, so we treat them as unproven and spend on the magazine first.
The Hazmat Suit. CODMunity lists it as Legendary gear that protects you from radiation and is lost when you exfil. Its community notes place one in the tents at the Reactor entrance, which our DMZ manuals guide covers in its Reactor route. Activision's map ratings flag radiation only at the Reactor, so that's the run where it earns a slot.
A few patch details change these picks. Infinity Ward cut Drill Charge damage against the Colossus on October 25, so don't build a boss plan around it alone. Gas Masks, including Durable Gas Masks, no longer break the moment you enter radiation since the October 23 fix. Activision's tour also notes SAM Sites you can capture as a Side Op, which then fire at enemy aircraft, a real help against Deathstalkers. Possum, the Warfighter Trait that revives you into Last Stand once per match, now has limits: since October 28 it won't trigger while the squad that killed you is nearby, and Season 1 multiplied that radius by 2.5 and raised the fallback timer from four to five minutes.
If you've never seen a zone, scout it first with a Free Loadout or a budget kit. You risk nothing and learn the entrances. A paid Cargo Plane infil (100,000 DMZ Cash, per Activision) lets you pick your exact drop point when the real run comes.
Optimal Gunsmith builds for Modern Warfare 4 DMZ
Per-gun builds change with every patch, so this section gives our attachment priorities per weapon class. For exact builds, CODMunity and WZStats track current DMZ setups, and the Gunsmith's own Gunny tool suggests close-range, balanced or long-range builds for any gun.
Gunsmith rules worth knowing first, from Activision's FOB guide:
- Five bought slots at most. You can add up to five attachments in the Gunsmith. Weapons found in Hajin can carry up to eight.
- Each slot costs more. Slots can be bought in any order, but every extra slot costs more DMZ Cash than the one before.
- Unlocks are shared. An attachment has to be unlocked by leveling the weapon, and weapon levels count in both Multiplayer and DMZ.
- The Apex slot is free, the Apex isn't. Once you've maxed the weapon, the Apex slot opens without any DMZ Cash, but you still pay DMZ Cash for the Apex attachment you put in it, as with every other part.
- Test before you deploy. The FOB Firing Range has targets from under 10 m to over 100 m.
| Weapon class | Buy first | Optic | Then | Apex note |
|---|---|---|---|---|
| Assault rifle | Largest magazine, then a suppressor or recoil-control muzzle | Low power, about 2x | Barrel for range and bullet velocity, then an underbarrel or stock | Han X20 Skybreaker adds an airburst launcher; Kastov ARC disrupts infantry, electronics and vehicles |
| SMG | Extended magazine, then a suppressor | None, or a reflex | Rear grip or laser for aim speed, barrel for range | VEL 46 Snap swaps the stock for a sling, and its Quick Draw bonus needs the Overkill perk, which DMZ Loadouts don't have a slot for; X-58 Void was overtuned against AI and fixed in Season 1 |
| Shotgun | A choke or suppressor muzzle | None | Laser and stock for handling; on the Rezi 12, a barrel that adds a shell | Rezi 12 Enforcer adds explosive slugs and had its ranges raised in Season 1; Warlord Lumen fires a strobe on aim, blocks the optic and laser, and got a Season 1 fix against AI |
| LMG | A muzzle that silences or steadies it, then the barrel | 2x to 4x | Recoil stock and underbarrel | FiNN Adverse lifts the fire-rate cap but can overheat; APOC-338 Praetor locks it to a ten-round semi-auto belt; Type 73 Assault loads Explosive Rounds in a smaller top magazine |
| Marksman rifle | Suppressor, then a velocity or range barrel | 2x to 4x | Aim-stability stock, then an underbarrel or rear grip | Oris 8.6 Razor adds three quiet throwing knives; Mosin Harpoon blocks the muzzle, so no suppressor; check the MAR-9 Auto text, which Season 1 corrected |
| Sniper rifle | Suppressor, then bullet velocity | High power, 7x and up | Rear grip or laser for faster aiming | Signal Inferno for vehicles; KG-7 Drillcharge for enemies behind cover; Astaroth Infiltrator cuts the magazine to one round |
| Pistol | Magazine | A reflex, if any | Suppressor for quiet backup | Usually not worth the cash |
Some notes on the table. The optic zoom ranges are our suggestion; we couldn't find an official list of MW4 optic magnifications, so read the zoom on each optic's stat card before you buy it. For shotguns, CODMunity lists the Haebang Bulsae-10 choke for the Rezi 12 at weapon level 28. The Rezi has no magazine attachment on that list, only a Haebang 635R-7 barrel that adds one shell to its six. On Apex choices, think about what each one blocks. In DMZ, losing the muzzle slot (the Mosin Harpoon) costs you the suppressor, and a smaller magazine (the Type 73 Assault, the Astaroth Infiltrator) costs you the capacity you need against groups. The Oris 8.6 Razor goes the other way: its knives fit Activision's advice to move through high-threat areas quietly. The VEL 46 Snap, the Rezi 12 Enforcer and the KG-7 Drillcharge block little or nothing (our Apex attachments guide has the full list), so they're the easiest to justify once you've paid for the core slots.
These priorities are our approach, not developer advice. The reasoning: in DMZ you fight several AI soldiers at once and reload in the open, so capacity comes first. GAMES.GG makes the same point about the Han 86, whose 30-round default it calls tight against groups. A suppressor comes next because Activision's own tip for higher-threat areas is to stay quiet, and quiet fights keep the area's Threat Level down. After that, spend on whatever the gun does worst: range for SMGs, handling for LMGs, aim speed for snipers.
Our read on classes: build rifles to be balanced, because their strength is handling every range at once. Build SMGs and shotguns for close fights and fast aiming, and on a shotgun favor anything that keeps the pellet pattern tight. LMGs earn their weight against helicopters, convoys and AI crowds rather than single players. Keep marksman and sniper rifles for overwatch and Lieutenant hunts. We use marksman rifles for roughly 50 to 100 m and snipers for anything farther. The FOB range, with targets from under 10 m to past 100 m, is where you can check that split for your own build.
Before you buy a slot, ask one question: "This gun lost my last fight because of ___, so the next slot goes to ___."
Want a hand with this?
Weapon levels are shared between Multiplayer and DMZ, so attachments you unlock in either mode reach the DMZ Gunsmith. If you would rather not grind those levels yourself, MW4 weapon leveling is listed on FullBoosts, with other services on the Call of Duty page. Read the publisher's rules before you buy any service from anyone, FullBoosts included — a marketplace listing isn't publisher permission.
FAQ
What is the best MW4 DMZ loadout? On most runs, take a Han 86, Cronen Squall or Cronen Osprey as the primary, a VEL 46, Warlord, Rezi 12 or Oris 8.6 as the secondary, a 2-Plate vest, a Medium Backpack for its Secure Slots, a Medkit with Bandages, and Portable Radar or DDoS. It handles Dynamic Ops and most buildings without risking your best Stash items.
What is the best budget loadout for Modern Warfare 4 DMZ? One rifle (the Han 86 if you have it), a 1-Plate vest, a Small Backpack, a Smoke Grenade and two Bandages. Skip the secondary and take one from a downed soldier. The Free Loadout is another option when your Stash is empty.
What's the best loadout for hot zones in MW4 DMZ? A suppressed Han 86, Cronen Squall, M4 or Kastov 762 with the biggest magazine you have (the 60 Round Drum where the gun takes one), a PPSh-41, FiNN LMG or Signal 50 as backup, a 3-Plate vest, the right Headgear for the zone, Smoke, C4, at least two Medkits and a Self-Revive Kit. Infinity Ward's Season 1 notes have the Military Base mission recommend the 3-Plate vest.
What is the best primary weapon for MW4 DMZ? Right now, the Han 86. Every DMZ tier list we checked ranks it at the top, from the launch-week lists to the Season 1 updates of November 10. The Cronen Osprey, added in Season 1, joins it in S on our DMZ list.
What attachments are the best for MW4 DMZ? Buy the magazine first, then a suppressor or recoil-control muzzle, then whatever fixes the gun's weakest stat. You can buy up to five slots in the DMZ Gunsmith and each one costs more DMZ Cash, so check builds in the FOB Firing Range before you pay for the next slot.
Related guides
- Modern Warfare 4 DMZ beginner's guide
- MW4 DMZ weapons tier list
- MW4 DMZ best traits
- MW4 DMZ Hajin map guide
- How to farm DMZ Cash in MW4
- MW4 DMZ Weapon Manuals guide
- Best MW4 loadouts
- Modern Warfare 4 best weapons tier list
- Modern Warfare 4 Apex attachments explained
- How to unlock all mastery camos in MW4
- How to get Divergence camo in Modern Warfare 4
- How to level up fast in Modern Warfare 4
- Modern Warfare 4 all maps
- Best Modern Warfare 4 settings
- Best Modern Warfare 4 controller settings